This DIY video is a sneak peak of fashion aimed videos for a new site called LEAF- Living, Eating And Fashion. Enjoy the video and hopefully I will see some of you rockin' your turbans!!
How To Tie A Turband 3 Ways from LEAFtv on Vimeo.


How To Tie A Turband 3 Ways from LEAFtv on Vimeo.


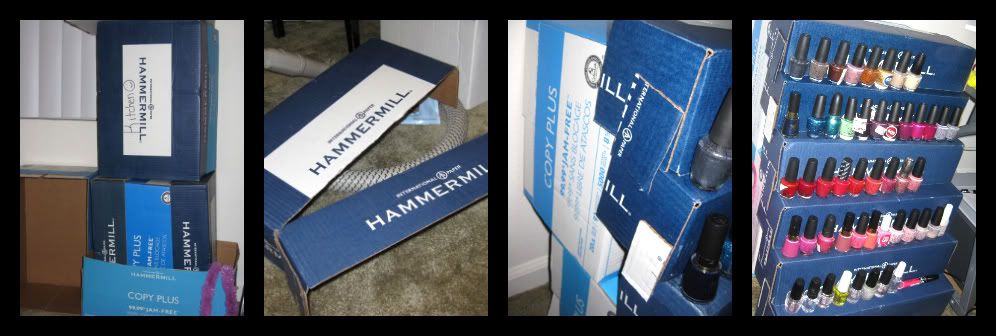 |
| L to R: Boxes ready to be cut!, Cutting off the first shelf, showing the glued support, ready to use shelf |


Winter is just around the corner, and you know what that means: scarf season!
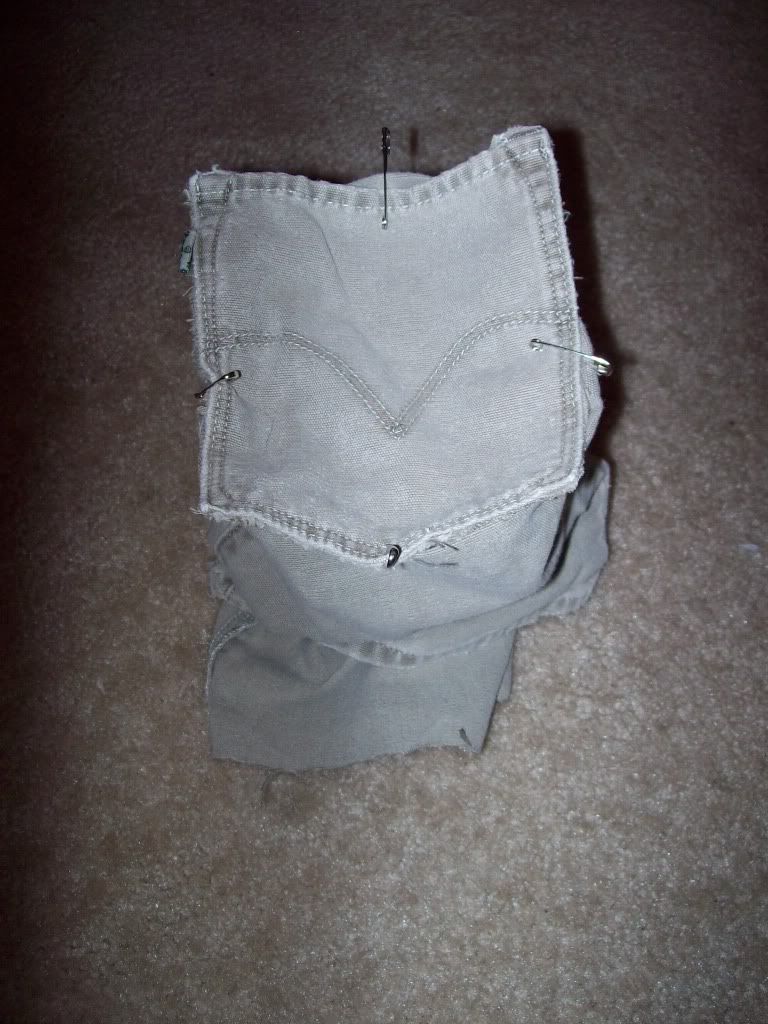
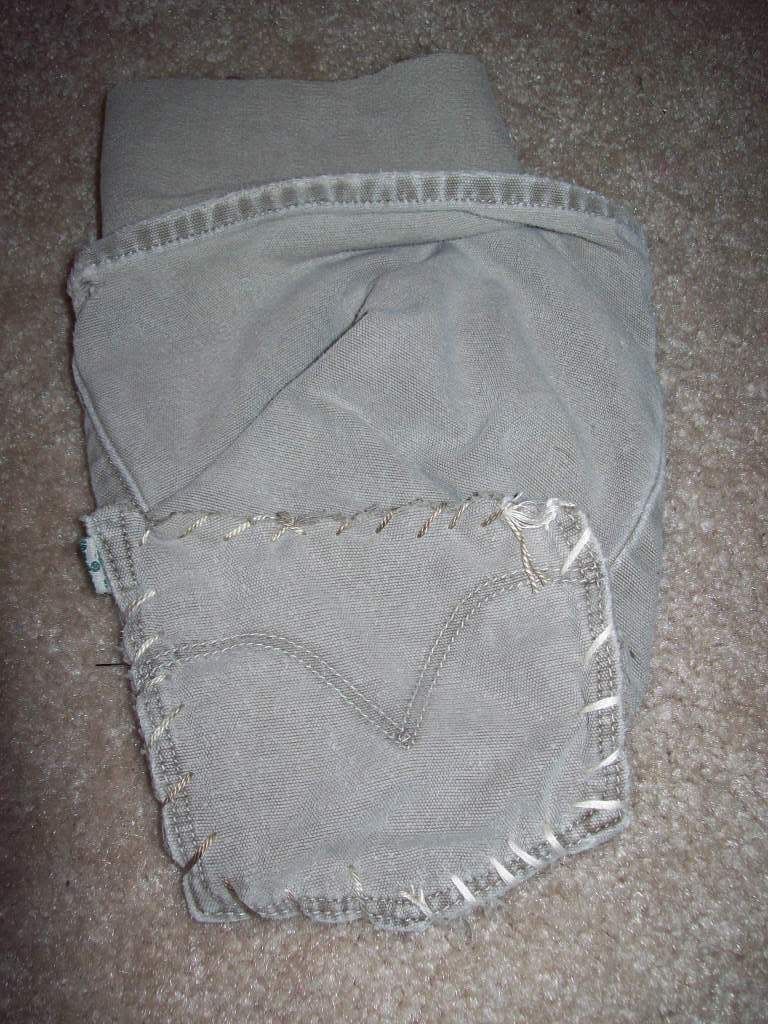
1. An oversized, old, and/or unwanted t-shirt
2. A marker (or something to make marks with)
3. Scissors
Take the shirt of your choosing and turn it so the side you want to be visible is on the inside.
If you want to hide the decal or whatever, make sure the decal is on the outside and vice versa. However, I just want to make a note that if you use a shirt with a design on it, the design colors will probably become visible one way or another because the fringe will flip sometimes. So If you want a solid colored fringe scarf, use a shirt with no design on it.
Measure out about 10 or so inches and make a mark in the center of the shirt. Then make a mark on each side of the shirt about one inch above the bottom of each shirt sleeve. Connect all three dots in an arch-like shape (see above).
Cut off the shirt sleeves. (This makes it easier to cut out the scarf shape.)
Cut along the arched line you drew earlier and pull apart. (Make sure you cut both layers!) Put the bottom half aside (we will use it later).
Make a mark under the center of the neck hole and then measure about an inch away from both ends of the neck hole and make two other marks. After you make the marks, connect them by drawing another arch. (Don’t stress, it doesn’t have to be perfect, it’s going to be round no matter what.)
Cut along the arch line you drew and pull apart.
Starting at the center, cut a straight line until you get to about half an inch away from the top of the fabric. (Make sure you are cutting both the bottom and the top layers.) Then measure about 2 centimeters to the left or right and cut another line. Repeat this until you get the whole piece of fabric looking like the above picture.
Voila!
image sources: http://www.collegefashion.net/page/14/


